
 Like A Makeup Brush Used For Contouring Crossword Clue
Ever found yourself sat stuck on a crossword puzzle, looking vacantly at the clues? That feeling of being one step away from the Kerplunk shape but missing it by an inch? So, today I am going to narrow in on one particular clue that will hopefully pique your interest: “like a contouring makeup brush.” Because this hint isn’t all about makeup, but also a skill, an artistic expression and a pinch of amusement.
And do you know what the answer is…? If you’re makeup obsessed like me then lets get into contouring brushes. Together, we shall not only delve into the answer but also the art behind contouring, what brushes one might use and some of my own personal advice thus far.
Cost Factor Calculator
WHAT IS CONTOURING?
Contouring is a term most of us are familiar with, we have seen it in makeup tutorials or at the beauty counter. The more flattering term is contouring — manipulating shadows on your face to emphasize and enhance certain things. The concept is simple; make it appear to be 3D & structured.
The first time I contoured, I was so impressed by the difference a smidge (okay… a lot) of product can make on your face It was an art of doing fine gluten makeup, not just applying sunscreen. I figured out how to photograph everything in a way that could reach my mind, play with light and shadow, accentuate my cheekbones or slim down my nose.
My first experience with contouring. I was excited, yet a little nervous at the same time. I rinsed a lot of videos on this, With my makeup brushes in hand, I was a painter prepared to make one big canvas.
THE IMPORTANCE OF A GOOD BRUSH
A good contouring makeup brush is essential. It requires the proper tool to create the effect you want. A good contour brush needs to be soft and bendable so using it while creating the strokes with your taupe shade is easier. The pencil should have a nice feel in your hand, and it should be easy to use.
Lesson learned, not all brushes are the same. They are either too airy, or too dense. My favorite brush is one with a tapered edge, and with it I am able to properly manage how much product I use. It will mold to the shape of my face and feel like I am breezing through application.
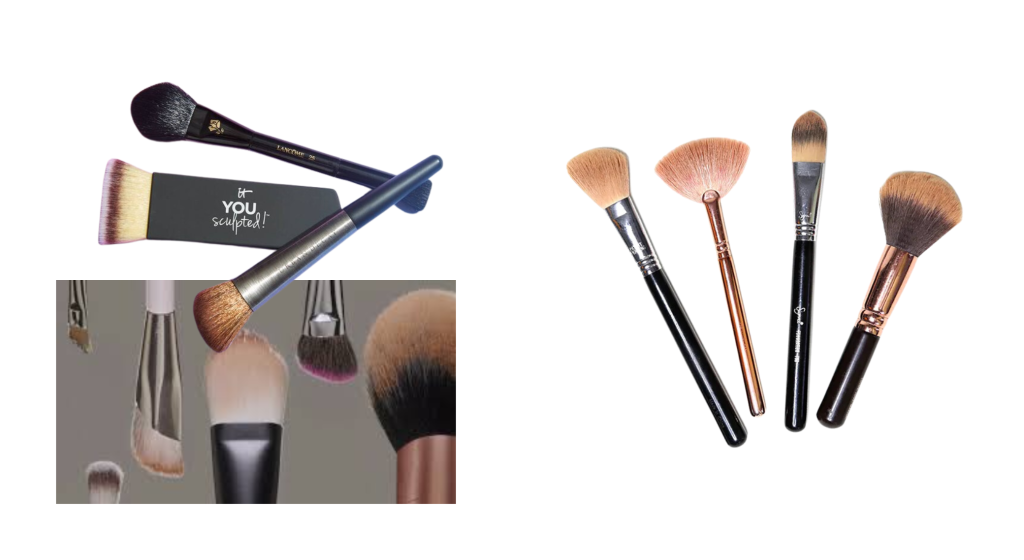
TYPES OF CONTOUR BRUSHES
When you get a better idea of what all the different types of contour brushes do then it can truly up your make up game. These are some types I have used and think is the best.
Angled Contour Brush
Use an angled contour brush for the hollow part of your cheeks out. The angle makes it extremely easy to apply with accuracy. I like to use this brush when I contour my cheek bones.
Dome Brush
The bristles are in the shape of a round which is great for blending. I also like to use this brush to buff out any harsh lines after I have applied my contour. It really only takes a couple brush swipes of this baby.
Fan Brush
If you want to apply highlighter then fan brush is the best way to use that. Thank you for being — the best way to get sun-kissed glow that one could hope for him! I always use this brush to apply highlighter on my cheekbones, brow bone and the bridge of my nose. It leaves a gorgeous, natural finish with just a light touch.
Buffing Brush
Best for: Buffing brush — this works wonders blending foundation or cream products. What I mainly use it for, is to blend my contour when I want a less dramatic effect (but still noticeable). You want to do so in circles to facilitate evenness.
Flat Contour Brush
The way this brush is shaped lends itself to very detailed application. The side I use to like sharpen more, getting a clean line on my jawline or nose. If you want that defined look, this brush is the one.
HOW TO USE A CONTOUR BRUSH
Contouring with a contour brush may seem intimidating, but remember this: It is just practice. I can remember my first few tries were a bit messy, but the more I did them and understood what article directories preferred, the easier it got. Here is a quick and basic guide on how to use a contour brush.
STEP 1: PREP YOUR SKIN
You will want to begin with a clean moisturized face. Use a primer to even everything out. This is the most important step for a perfect makeup.
STEP 2: CHOOSE YOUR PRODUCTS
Select your contour product. I personally would use cream products for a more natural look but powders work just as well. This means you want to go with a shade that is light, but not so light.
STEP 3: IDENTIFY YOUR FACE SHAPE
Knowing your face shape helps dictate where you should apply contour. For those of you with rounder faces, concentrate on the sides of your forehead and under your cheekbones.
STEP 4: APPLY THE PRODUCT
Apply the product Using your contour brush in a “3” shape along your temples, cheekbones and jawline. I prefer to start light and build up to my desired intensity.
STEP 5: BLEND, BLEND, BLEND
And this step is the most important one which you cannot skip at any cost. Blend out any harsh edges with your blending brush (or the buffing brush). Always blend in small circular motions for a flawless finish.
STEP 6: HIGHLIGHT
Apply highlighter to the high points of your face with a different brush. This step adds both depth and glow to your makeup.
STEP 7: SET YOUR MAKEUP
Finally, set it all with setting spray or powder to ensure your contour lasts all day.
PERSONAL TIPS FOR SUCCESSFUL CONTOURING
But throughout the years, I’ve picked up a few tricks that have helped me master contouring. So here goes some personal tips, that might be of help to you:
- Less is More
Contouring can also be way too easy to go overboard and end up looking more skeletal. Apply a little product and build up as needed. You can always add more, but it is very difficult to remove the exceeding ones.
- Practice Makes Perfect
As you practice this more and more you will get better at it naturally so don’t be discouraged if your first few attempts are not perfect. Continue to practice, and you will progress. Weekend experiments work the best for comforting yourself.
- Use Natural Light
Natural light does you as a guide because natural light will give you an idea of how your makeup will look throughout the day. I never leave the house without studying my mug in a window.
- Invest in Quality Brushes
The brushes might feel expensive, but they will significantly enhance how your makeup goes on the face. I have tried two brushes, $80 brushes, and $8 ones; sometimes the brush can mean everything in your contour process.
- Don’t Forget Skincare
Makeup sits best on healthy skin. Skincare is to be the foundation of my routine and directly affects how my makeup looks.
THE SCIENCE BEHIND CONTOURING
Contouring, more than just aesthetics, a little science. A better way to light | Laat hierdie lig inkomende!
When you contour, you are essentially playing with the light and the shadow on your face. Highlighters reflect light and make areas look like they are in the foreground, while contouring shades absorb light and cause areas to recede into shadow.
This balance is crucial. If you put too much highlight on, your skin will be shiny like disco ball which is not cute and if you use too much contour can make natural shade and high-lighting of the face looks so flat. You also need to get that perfect natural balance.
COMMON MISTAKES TO AVOID
Knowing how to contour is definitely an art that can be stumbled at with even the simplest of mistakes. Following are a few of the common pitfalls I have seen and how to avoid it.
- Choosing the Wrong Shade
If you use a contour shade that is too dark or too cool it can look very muddy and unnatural. Before I commit, though, I always tee up my jaw — def.
- Not Blending Enough
Contour lines that are too harsh are the biggest sign but, of contour gone wrong. I know the only friend is blending. Your products should always be well blended.
- Applying Too Much Product
Contour can be way too easy to overdo. Start small and build up. I always said that we wear MAKEUP to ENHANCE what is already there, not MASK who we truly are.
- Ignoring Skin Type
After all, not every skin type can accommodate the same products. Given my combination skin, I go in for something that is compatible with it.
- Skipping Setting Products
You have to set the makeup right. When it comes to keeping my makeup intact, I set religiously and rarely stray.
CONTOURING FOR DIFFERENT OCCASIONS
Contouring is versatile. Your method will be differ based on occasion. Now how I contour based on the situation:
Everyday Look
On a Regular Day, I Keep Things Casual I only a touch of contour and highlighter. I want to appear as young and natural as possible.
Special Events
Especially when I am going for weddings or parties, my contour keeps on getting higher-by-hours. Makes me look much sharper in photos执行 I blend to perfection.
Professional Settings
I amarateenongay, dilute it to no more than 10% in a real meeting. I just enhance features with a soft contour. I want to look polished but also approachable.
Photoshoots
I bring my A-game to photoshoots. I tend to do a pretty strong contour so you can see features on the lens. This is also where my fan brush comes into play for that final glow.
CONCLUSION
The trick is to have a little fun while contouring, while at the same time using it as a means of expressing myself. Ultimately contouring is about building a confident and beautiful self, not a way to hide behind the makeup.
With the right brushes and a bit of practice, you can transform your makeup game from ordinary to extraordinary. So the next time you see a clue that mentions “like a contouring makeup brush,” just remember it’s all about skill, style, and a touch of artistry. Happy contouring!